
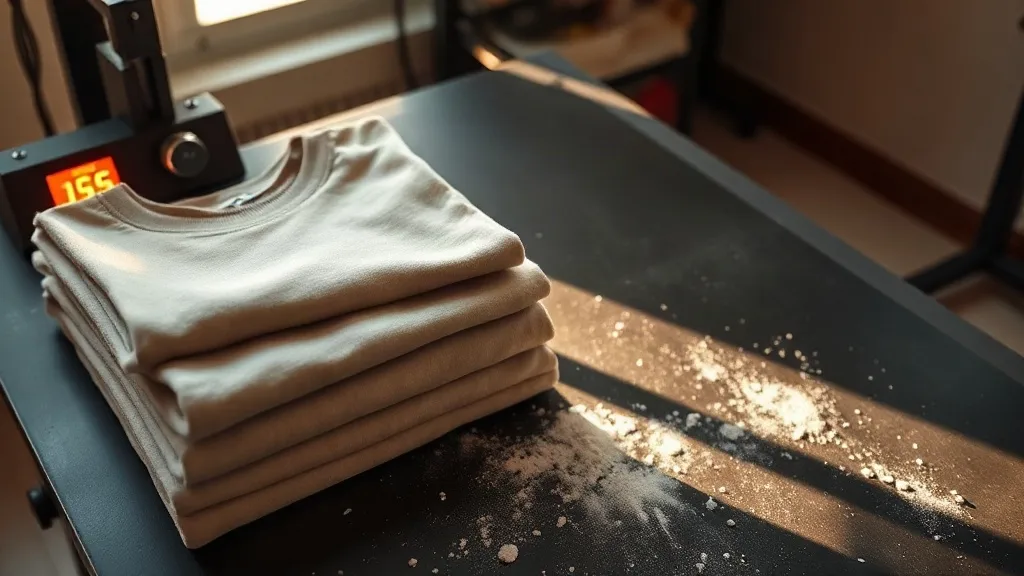
Most print shops learn the hard way that a heavyweight blank is not just a thicker version of a light one. The first time you press a transfer onto a shaka wear tee, something feels off: the fabric fights back a little, the peel pulls harder, and the print sits on the surface in a way that looks different from what you got on a 4.5 oz jersey. That difference is not a defect. It is the fabric telling you it needs its own settings.
This guide is about that gap. Not a general introduction to heavyweight blanks, and not a sizing chart. It is about what physically changes when you move from a standard tee to a dense, heavy cotton garment, and how to build a repeatable press routine around it so your transfers stay put and your customers stop coming back with cracked prints.
What Heavyweight Cotton Actually Does Under a Heat Press
Fabric weight is measured in ounces per square yard, and a 6 oz or heavier knit carries more yarn per inch than a 4 oz jersey. More yarn means a denser, less compressible surface. When the press closes, that density changes three things at once: how much the fabric gives, how fast heat moves through it, and how much moisture it holds.
Compression and the adhesive window
DTF adhesive powder needs contact. On a soft, thin knit, the fabric compresses easily under the platen and the adhesive sinks into the weave slightly, which is exactly what you want. On a heavy cotton tee, the surface resists that compression. If your pressure is set for light blanks, you may be pressing hard enough to feel resistance but not hard enough to actually seat the adhesive into the fiber. The transfer looks fine coming off the press and starts lifting at the edges after two washes.
The fix is not always more pressure. Over-pressing heavy cotton flattens the hand feel and can cause the print to look glossy and cracked. Start around 40 to 50 PSI on a pneumatic press, or medium-firm on a manual, then check the peel. If the transfer releases cleanly and the edges look sharp, you are in range.
Heat transfer through a thicker knit
A heavy tee absorbs more heat before the surface reaches press temperature. If you load a cold garment and start your timer immediately, the first several seconds are spent warming the fabric rather than activating the adhesive. On a thin blank this is negligible. On a 6.5 oz cotton it can cost you five to eight seconds of real cure time.
Two practical options: pre-press the garment for three to five seconds before placing the transfer, or add five seconds to your dwell. Pre-pressing is the better habit because it also drives off surface moisture, which matters more than most people realize.
Moisture Is the Quiet Cause of Most Failed Presses
Cotton holds moisture. Heavy cotton holds more of it, and it holds it deeper. A garment that has been sitting in a humid stockroom or shipped in a sealed poly bag can carry enough surface moisture to interfere with adhesive bonding. The symptom is subtle: the print adheres, but the bond is weaker than it should be, and it fails weeks later rather than immediately.
This is where a lot of shops blame the transfer supplier when the real issue is the blank. Before you change your film, your powder, or your press, run a moisture check. Pre-press every heavyweight garment for three to five seconds at production temperature. It takes almost no extra time once it is part of your loading routine, and it eliminates a whole category of adhesion failures.
Weave Texture and Why Print Detail Looks Different
Heavyweight tees usually have a more pronounced knit structure. You can see the individual loops if you look closely, and that texture does not disappear under a transfer. A DTF print sits on top of the fabric rather than soaking in, so the weave telegraphs through the ink film.
On bold graphics and large color blocks, this is barely noticeable and often reads as a deliberate textured look. On fine linework, small text, and gradients, it matters. A one-point line that reads cleanly on a smooth ring-spun jersey can break up on a coarse heavyweight knit.
Design adjustments that save reprints
- Keep the smallest text at 8 points or larger, and avoid thin serif fonts on heavy knits.
- Increase line weight on detail elements by roughly 0.25 to 0.5 points compared to what you would use on a light blank.
- Avoid tight gradient blends in small areas; the weave breaks them into visible bands.
- Test one sample print before committing a full run, especially on new colorways.
These are small changes, but they are the difference between a print that looks intentional and one that looks like it failed.
Building a Gangsheet That Matches Your Heavyweight Runs
Shops that print heavyweight tees in volume tend to run into a layout problem rather than a press problem. Heavy garments often come in larger size runs, and the artwork is frequently oversized. If you are assembling sheets manually, you end up with wasted film and inconsistent spacing.
A DTF Gangsheet Builder solves the layout side of this by letting you place artwork at exact dimensions, nest sizes efficiently, and preview the sheet before it goes to the printer. For heavyweight work specifically, the useful part is dimension control: you can size each element to the actual print area of the garment rather than guessing, which reduces the trimming and placement errors that show up most on dense fabrics.
Placement on a heavier garment
Heavy tees drape differently. A chest print that sits perfectly on a light jersey can ride higher or lower on a stiff 6.5 oz cotton because the fabric does not stretch the same way when worn. Measure from the collar seam down rather than from the shoulder, and check placement on an actual body or a dress form rather than flat on a table. Flat placement on heavy cotton is consistently misleading.
Curing and Peel Behavior You Should Expect
Peel temperature matters more on heavy cotton than on light blanks. Hot peel works well for most DTF films, but on a dense knit the adhesive is still settling when the sheet comes up. If you see stretching or distortion at the edges during the peel, the garment is still too warm and the bond has not fully formed. Let it cool for a few seconds, then peel at a steady angle.
After peeling, a second press of five to eight seconds with a cover sheet locks the print into the weave. Skipping this step is common and it is the single biggest reason prints fail at the edges after repeated washing.
Wash Testing Before You Ship
Every new blank and transfer combination deserves a wash test. Not a single wash, either. Run three cycles at 40 degrees Celsius, inside out, with a normal detergent, and inspect after each one. What you are looking for is edge lift, color fading, and any change in hand feel. Heavy cotton tends to hold prints well when the bond is correct, so a failure at wash two or three almost always points back to moisture, pressure, or an incomplete second press.
Keep a log. Fabric weight, press temperature, dwell time, pressure, peel type, and wash result. After a few months you will have a reference that saves you from re-solving the same problem every time a new colorway arrives.
Frequently Asked Questions
Does heavyweight cotton need a higher press temperature for DTF?
Usually not. Temperature stays in the standard 150 to 160 degrees Celsius range. What changes is dwell time and pre-pressing, because the fabric takes longer to reach temperature. Raising heat instead of time tends to cause scorching and shine on dark heavy cotton.
Why does my DTF print feel stiffer on heavy tees?
The print sits on a denser, less flexible surface, so it moves less with the fabric. A thinner ink film, a slightly smaller print area, and a proper second press all help. Some stiffness is normal and generally softens after the first wash.
Can I use the same gangsheet layout for lightweight and heavyweight runs?
You can reuse the file, but check dimensions per garment. Heavy tees often have a different print area and a stiffer drape, so elements sized for a light jersey may sit too high or too wide. Adjust and save a separate version for heavyweight work.
How long should I pre-press a heavy cotton tee before applying the transfer?
Three to five seconds at production temperature is enough to drive off surface moisture and warm the fibers. Longer pre-presses mainly waste time and can set wrinkles if the garment is not smoothed first.
Do darker heavyweight colors behave differently?
They can. Dark garments absorb heat faster and show scorch marks more readily, and some dye lots release slightly more surface residue. A quick pre-press and a temperature check with a heat gun on the first piece of each run will catch most issues before they cost you film.