
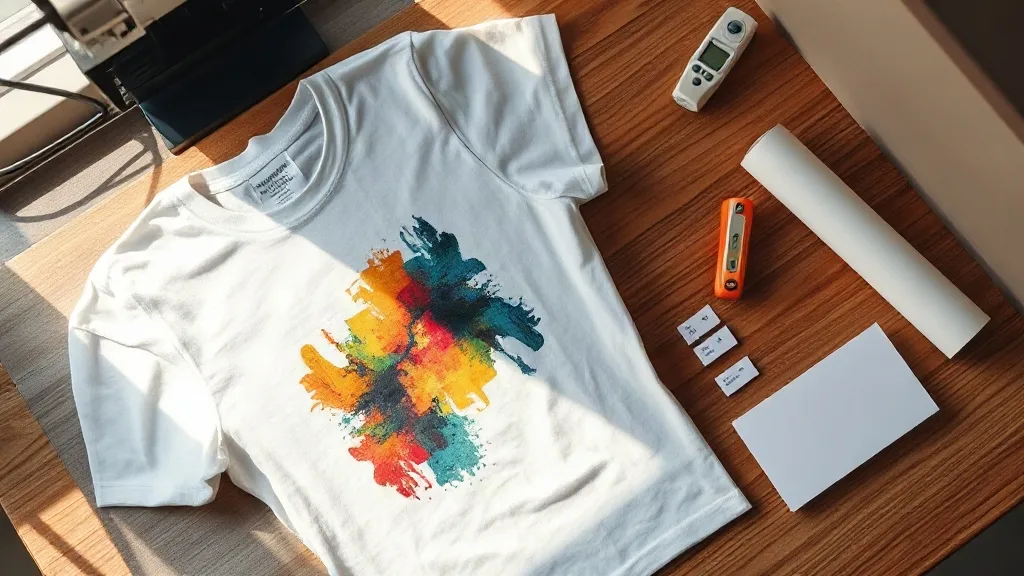
Walk into any small print shop that has added apparel to its lineup and you will hear the same story. Someone bought a heat press for vinyl, got tired of weeding tiny letters, and started looking at dtf transfers as the way out. The appeal is easy to understand: full-color artwork, no cutting, no weeding, and the same transfer works on cotton, polyester, and blends. But the gap between ordering a sample pack and running DTF as a real service is wider than most tutorials admit, and that gap is where money gets lost.
This guide is written for the shop owner who already has a press and a customer base but wants DTF to be repeatable rather than experimental. It covers what happens inside a transfer, which fabrics actually behave, how to set up pricing that survives a busy week, and the specific failures that come up again and again when you press a dtf sheet for the first time.
What Is Actually on That Sheet
A DTF transfer is a printed film carrying a mirror-image design in water-based pigment inks, dusted with a thermoplastic adhesive powder while the ink is still wet, then cured. When you press it, the powder melts into the fabric and the ink layer sits on top. Peel the film while it is warm or cold depending on the film type, and the design stays behind.
That structure explains almost every behavior you will run into. The powder is the adhesive, so under-cured powder equals a design that cracks after three washes. The ink layer is plastic-like, so it sits on the surface of the fabric rather than soaking in, which is why stretchy garments need a powder grade formulated for elasticity. And because the film carries the whole image, there is no color separation step and no minimum order, which is precisely why short-run and one-off work fits DTF so well.
Cold peel versus warm peel
Most suppliers ship cold-peel film, meaning you let the transfer cool for a few seconds before pulling the carrier away. Warm-peel film exists and saves a little time, but mixing the two in one order is a reliable way to ruin a batch, because the peel timing is different and staff will forget which is which. Pick one and label the storage shelf.
Which Fabrics Reward DTF and Which Fight It
DTF is often marketed as universal, and that is only half true. It adheres to a huge range of materials, but the finished look varies enough that you should know what to promise before a customer asks.
- 100% cotton: The most forgiving. Ink sits cleanly, whites stay bright, and wash durability is strong when the press settings are right.
- Cotton/poly blends: Reliable in most cases, though very high polyester content can change the hand feel slightly.
- 100% polyester: Works well, but sublimation dyes in cheap poly garments can migrate into the transfer under heat. Test unknown blanks before committing to a bulk order.
- Nylon and treated synthetics: Often need lower temperatures and longer dwell, and some coatings simply reject the adhesive.
- Mesh, heavily textured, or coated fabrics: The ink layer bridges the texture instead of following it, so fine detail can look muddy.
One practical habit: keep a labeled scrap of every blank you stock and press a small test square on each new batch. Suppliers change mills without warning, and a garment that pressed perfectly in March can behave differently in September.
Press Settings That Actually Hold Up
Exact numbers depend on your film and powder, so treat any published chart as a starting point, not gospel. That said, the ranges below are where most shops land, and they give you a sensible place to begin testing.
- Pre-press the garment for three to five seconds to drive out moisture. Skipping this is the single most common cause of poor adhesion.
- Position the transfer with the printed side down and cover it with a protective sheet or the film's own carrier if the instructions allow.
- Press at roughly 300 to 320 degrees Fahrenheit for 10 to 15 seconds at medium to firm pressure.
- Peel according to the film type, then re-press for five seconds with a cover sheet to lock the edges.
Pressure is the variable people underestimate. A press that is slightly low will still produce a transfer that looks fine on the platen and peels at the collar after two washes. If you are unsure, err toward more pressure and verify with a stretch test: press a sample, let it cool fully, then pull the fabric apart at the design edge. Cracking at the border means you need more pressure or a few more seconds.
Why moisture ruins transfers
Water turns to steam under the platen, and steam pushes the adhesive away from the fibers before it can bond. Shops in humid climates or with garments stored in a cold room see this constantly. Pre-pressing solves it, and so does letting blanks come to room temperature before they go under heat.
Pricing DTF So the Numbers Work
The mistake new shops make is pricing by transfer cost alone. A gang sheet looks cheap per square inch until you count the labor around it: building the layout, trimming, pressing, folding, bagging, and handling the customer who wants one shirt in three colors.
A workable structure separates three things. Charge for the transfer itself based on size tiers, charge a setup or artwork fee that covers your time in layout software, and charge a press fee per garment that reflects the real minutes on the machine. Shops that bundle everything into one number tend to undercharge on small orders and overcharge on large ones, which is the opposite of what wins repeat business.
It also helps to know when to send work out. If a customer needs forty pieces by Friday and your press is booked, ordering finished transfers from a supplier and pressing them yourself is often faster than printing in house. That is also the moment people start searching for dtf transfers near me to find a supplier who can turn an order around quickly, and it is worth having one vetted backup lined up before you need it.
Common Failures and How to Fix Them
The design peels at the corners
Almost always pressure or moisture. Increase pressure, add a pre-press, and make sure the transfer edges are fully covered by your protective sheet. Corners that curl during pressing never bond.
Colors look dull after washing
Under-cured powder is the usual culprit. If you print in house, check your curing temperature with an infrared thermometer rather than trusting the dial. If you buy transfers, ask the supplier what powder grade they use on stretch fabrics.
White ink looks thin or patchy
White pigment needs a heavy laydown, and cheap films skimp on it. On dark garments this shows immediately. It is one of the few areas where paying more per sheet genuinely shows in the finished product.
The transfer sticks to the cover sheet
You peeled too early or pressed at too high a temperature. Let the piece cool completely before stacking, and never stack freshly pressed garments on top of each other.
Frequently Asked Questions
How many washes should a DTF transfer survive?
With correct pressure, a full pre-press, and proper curing, most quality transfers hold up for 50 washes or more on cotton. The realistic expectation to set with customers is that the print will outlast the garment's color, provided they wash inside out and avoid high dryer heat.
Can I press DTF on a shirt that already has a zipper or buttons?
Yes, but you need a smaller platen or a pressing pillow so the hardware does not create uneven pressure. Pressing over a zipper will leave a visible ridge and often a weak bond along that line.
Is DTF cheaper than screen printing for small orders?
For runs under about two dozen pieces, usually yes, because there are no screens or setup charges per color. Past a few dozen identical pieces, screen printing typically wins on unit cost. The crossover point depends on your labor rate, so calculate it once with your own numbers instead of guessing.
Do I need a special press for DTF?
No. A standard clamshell or swing-away heat press works, as long as it holds consistent pressure and reaches the required temperature. What you do need is an accurate way to verify temperature and pressure, since both drift over time.
Can DTF transfers be reused?
No. The adhesive powder transfers to the garment on the first press. A second press will produce a faint, failing image at best.
Getting Started Without Overbuying
The temptation is to buy a printer, a shaker, and a full powder setup on day one. A better path for most small shops is to order finished transfers from a supplier for the first few months, learn the press variables on real customer garments, and only invest in production equipment once you have a steady volume that justifies it. You will make your mistakes on someone else's film rather than your own capital, and you will know exactly which sizes and fabrics your customers actually order.
Whatever route you take, keep a log. Film type, press temperature, dwell time, pressure setting, fabric, and result. Six months of notes will teach you more about DTF than any settings chart, because the variables that matter are the ones specific to your press, your blanks, and your climate.