
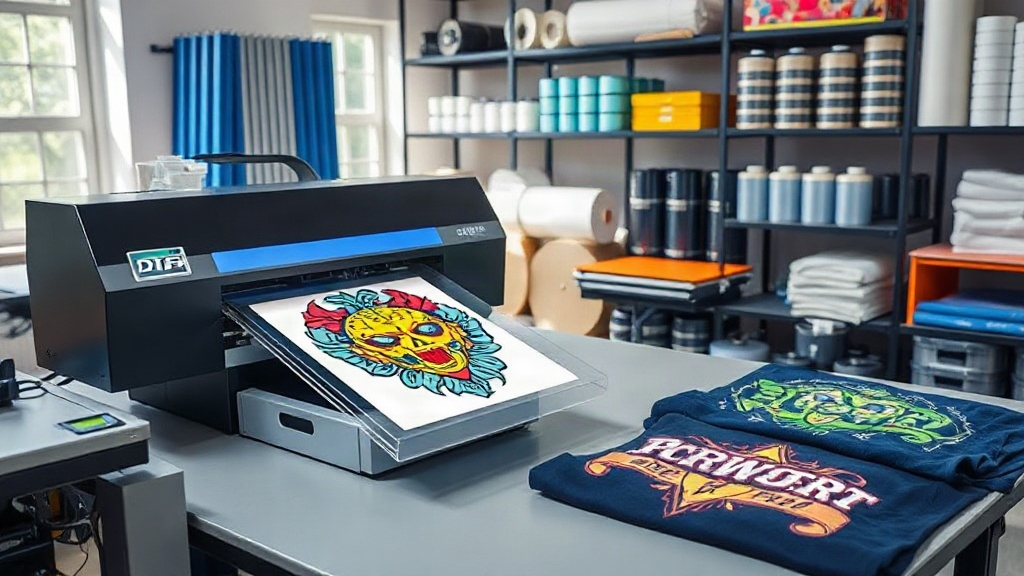
If you've been exploring custom apparel printing, you've likely encountered the term DTF. Short for Direct-to-Film, this technology is quickly becoming a favorite among hobbyists and professionals alike for its versatility and vibrant results. Unlike traditional methods that require specific fabrics or extensive setup, DTF printing opens up a world of possibilities for creating custom t-shirts, hoodies, tote bags, and more. In this guide, we'll walk you through everything you need to know to get started with DTF printing, from the basic process to practical tips for stunning prints.
What Exactly Is DTF Printing?
DTF printing stands for Direct-to-Film. It's a digital printing method where your design is printed onto a special film, coated with a adhesive powder, and then heat-pressed onto the fabric. This process differs from DTG (Direct-to-Garment) and screen printing in that it doesn't require pre-treatment of the fabric or specialized inks for different materials. The result is a soft, stretchable print that adheres well to cotton, polyester, blends, and even leather. Because the design is printed on film first, you can prepare transfers in advance and apply them on demand, making it ideal for small businesses or personal projects.
Why Choose DTF Printing?
There are several compelling reasons why DTF printing has gained such a strong following. First, it offers incredible color vibrancy and detail. The printers used for DTF typically have white ink capabilities, allowing you to print bright colors on dark fabrics without the need for a white underbase. Second, it's extremely versatile. You can print on a wide range of materials, including 100% cotton, 100% polyester, cotton-poly blends, and even non-fabric items like canvas and denim. Third, the process is relatively simple and doesn't require the messy chemicals or screens of traditional printing. Finally, DTF transfers are durable. When applied correctly, they withstand repeated washing without cracking or fading.
How Does the DTF Process Work?
Understanding the step-by-step process will help you achieve professional results. Here's a breakdown of what happens from design to finished product.
Step 1: Design Preparation
Start with a high-resolution image. DTF printing can handle intricate details, but a low-quality image will result in a poor print. Ensure your design is in a suitable format, such as PNG with a transparent background, and that colors are in RGB mode. If you're using white ink, remember that the printer will lay down white first, so your design should account for that.
Step 2: Printing onto Film
The DTF printer prints your design onto a special PET film. The printer uses CMYK inks plus white ink. The white ink is crucial for opacity on dark garments. After printing, the film is dusted with a hot-melt adhesive powder. This powder will later bond the ink to the fabric. Excess powder is shaken off, and the film is then cured in an oven or with a heat press to melt the powder.
Step 3: Heat Press Application
Once the transfer is ready, you preheat your heat press to the recommended temperature (usually around 300-350°F or 150-175°C). Place the garment on the press, position the transfer film with the design facing up, and press for 10-15 seconds with medium pressure. After pressing, allow the garment to cool completely before peeling off the film. This cool peel method ensures the design stays intact.
Step 4: Post-Pressing (Optional)
For added durability, some users do a second press after peeling, using a Teflon sheet or parchment paper for another 5-10 seconds. This helps the adhesive fully set into the fabric.
Essential Supplies for DTF Printing
To get started, you'll need a few key items. Here's a list of essentials:
- DTF printer: A dedicated printer with white ink capability. Popular brands include Epson converted models and purpose-built DTF printers.
- DTF film: Special PET film designed for DTF printing. It comes in sheets or rolls.
- DTF ink: CMYK and white inks formulated for DTF.
- Adhesive powder: Hot-melt powder that bonds the ink to fabric.
- Heat press: A reliable heat press with accurate temperature and pressure control.
- Curing oven (optional): For larger operations, a curing oven speeds up the powder melting process.
- Design software: Such as Adobe Photoshop, Illustrator, or free alternatives like GIMP or Inkscape.
Tips for Perfect DTF Prints
Even with the right equipment, technique matters. Here are some practical tips to elevate your DTF printing game:
- Control moisture: Film and powder can absorb moisture, leading to clumping. Store them in a dry place and consider using a dehumidifier in your workspace.
- Test your heat press: Every press varies. Use a temperature gun to verify actual platen temperature and adjust accordingly.
- Experiment with pressure: Too little pressure and the design won't adhere; too much and it may spread. Find the sweet spot for your setup.
- Peel at the right time: Always cool peel for DTF. Peeling while hot can distort the design.
- Wash inside out: To extend the life of your prints, turn garments inside out and wash in cold water. Avoid fabric softeners and dry on low heat.
Common DTF Printing Challenges and Solutions
Like any craft, DTF printing has its quirks. Here are a few common issues and how to tackle them:
- Faded colors after wash: This usually indicates insufficient powder or under-curing. Increase powder application and ensure proper curing time and temperature.
- Cracking: Often caused by too much pressure or stretching the garment during pressing. Adjust pressure and avoid overstretching.
- Adhesive residue: If the film leaves sticky residue, you may have pressed too long or too hot. Reduce time or temperature.
- Clogged printhead: Regular maintenance and daily printing help prevent clogs. Use a cleaning kit and follow the printer's maintenance schedule.
Is DTF Printing Right for Your Business?
If you're running a small apparel business or starting a side hustle, DTF printing offers a low barrier to entry compared to screen printing. You can produce one-off designs or small batches without the setup costs. The ability to print on demand reduces inventory waste. Plus, the quality of DTF prints is impressive, often rivaling more expensive methods. However, for very large orders, screen printing may still be more cost-effective. Assess your typical order volume and design complexity to decide if DTF is your best fit.
Frequently Asked Questions About DTF Printing
What fabrics can I use with DTF printing?
DTF printing works on a wide range of fabrics, including cotton, polyester, cotton-poly blends, nylon, and even leather. It's particularly effective on dark colors because of the white ink layer.
How long do DTF prints last?
With proper application and care, DTF prints can last as long as the garment itself. Following washing instructions like cold water and inside-out drying will maximize longevity.
Do I need a special printer for DTF?
Yes, you need a printer that supports white ink and is compatible with DTF inks and film. Many people convert Epson printers, but there are also dedicated DTF printers available.
Can I use DTF on 100% polyester?
Absolutely. DTF printing adheres well to polyester, but you may need to adjust heat press settings to avoid scorching. Always test on a scrap piece first.
Is DTF printing cost-effective for small batches?
Yes, DTF is very cost-effective for small batches and one-off designs because there are no minimums or setup fees. For large runs, compare with screen printing for the best value.
Final Thoughts
DTF printing is a game-changer for anyone looking to create custom apparel with vibrant colors and fine details. Whether you're a hobbyist or a business owner, mastering this technology can open up new creative and revenue opportunities. Remember to start with quality supplies, practice your technique, and don't be afraid to experiment. With a bit of patience, you'll be producing professional-grade DTF transfers in no time. For all your DTF supplies and equipment, visit dtfshoply.com to explore our selection and take your printing to the next level.